The BowTie Elements
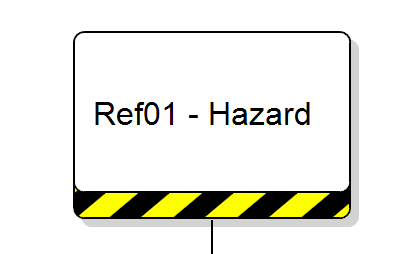
Hazards
Whether building or interpreting a bowtie, the logical starting point is the hazard. The hazard describes the potential source of harm under consideration and sets the overall context and scope of the bowtie.
For example: driving a car on a busy motorway — an everyday activity where exposure to risk exists.
A hazard may focus on:
- A condition (e.g. icing conditions)
- An object (e.g. another vehicle)
- An activity (e.g. driving)
Hazards are often part of normal business operations and cannot necessarily be eliminated. One hazard may also lead to multiple potential top events.
A condition, object or activity with the potential to cause injury to personnel, damage to equipment or structures, loss of material, or reduction in the ability to perform a prescribed function.
Guiding Principles
- Clearly define the context and scope of the bowtie.
- Consider the “zoom level” — broad for a panoramic view, narrow for detailed focus.
- Start broad, then refine if greater detail is required.
Traps and Tips
- Trap: Confusing hazards with threats in traditional risk registers.
Tip: The hazard sets the scene; threats are direct causes of the top event. - Trap: Overly large diagrams losing communication value.
Tip: Revisit hazard and top event definitions if the diagram becomes unmanageable.
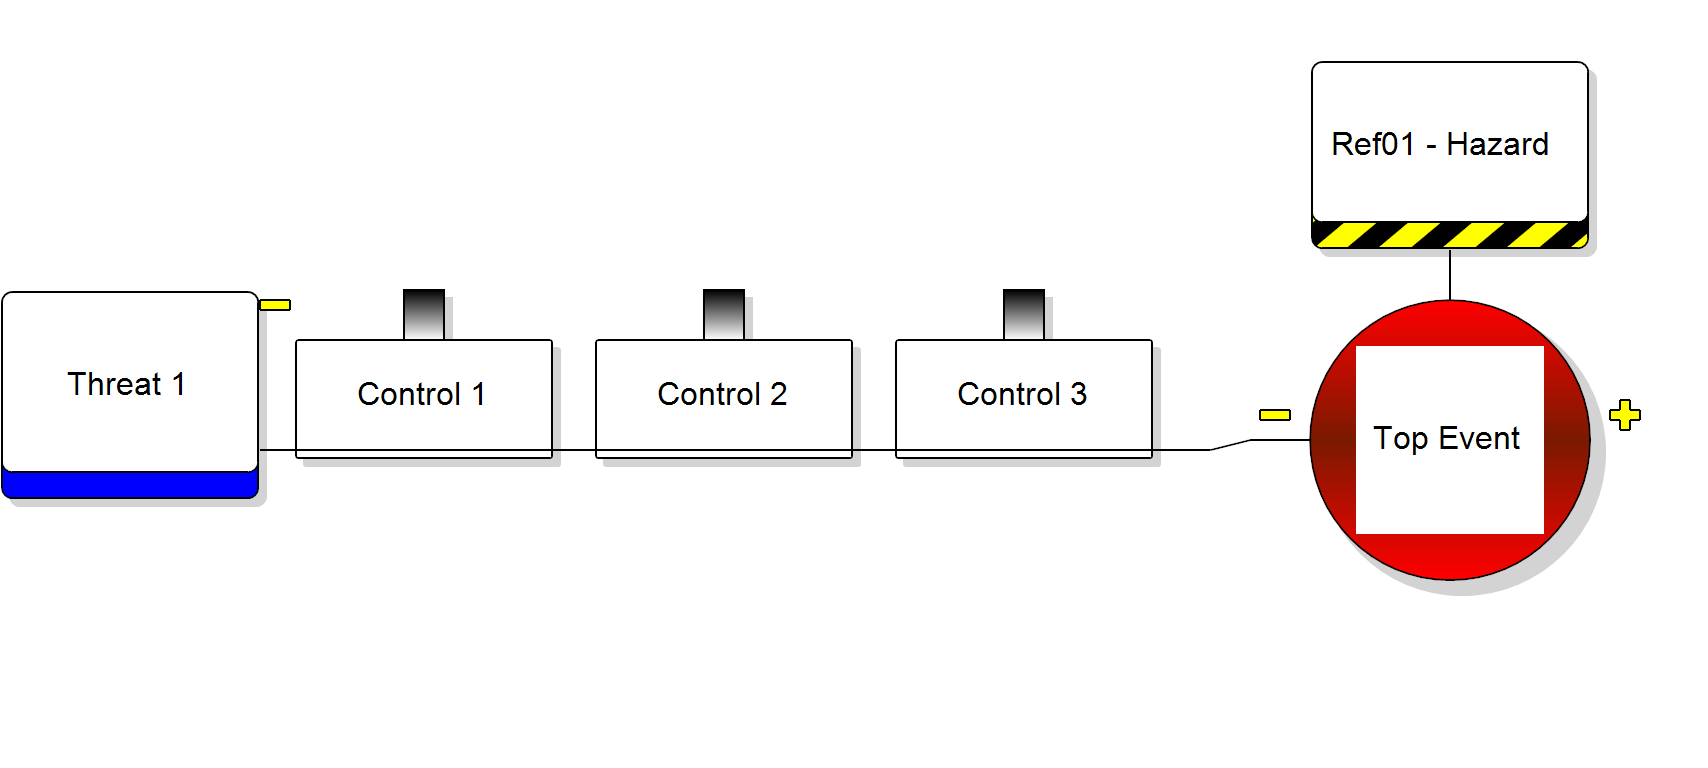
Top Events
The top event represents the point at which control of the hazard is lost. It describes an unsafe state — not yet an accident, but one that could escalate.
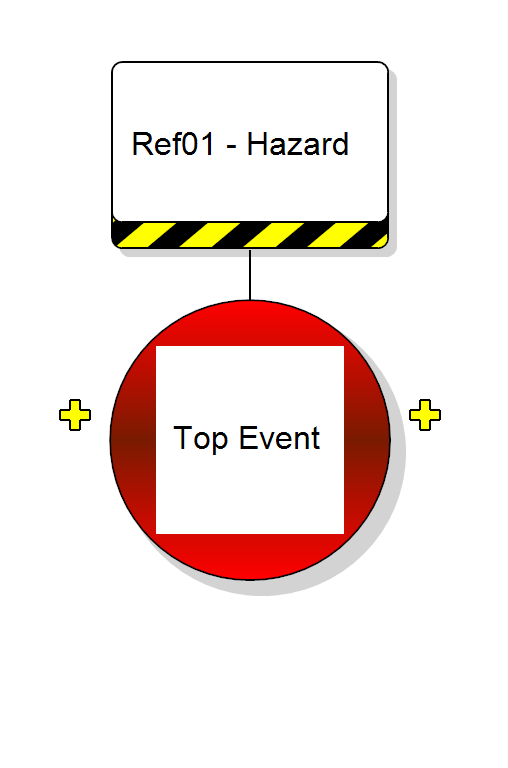
Example: losing control of the car on a busy motorway.
A point in time describing the release or loss of control over a hazard — the undesired system state.
Guiding Principles
- Define the loss of control clearly.
- Allow for multiple causes and multiple potential outcomes.
- Refine the definition if the bowtie does not address the intended area of interest.
Traps and Tips
- Trap: Persisting with an unsuitable hazard/top event definition.
Tip: Be flexible and refine through iteration. - Trap: Trying to capture multiple complex issues in one bowtie.
Tip: Use several manageable bowties where appropriate.
Threats
Threats sit to the left of the top event and describe direct causes that could trigger the loss of control. They should have a clear cause-and-effect relationship with the top event.
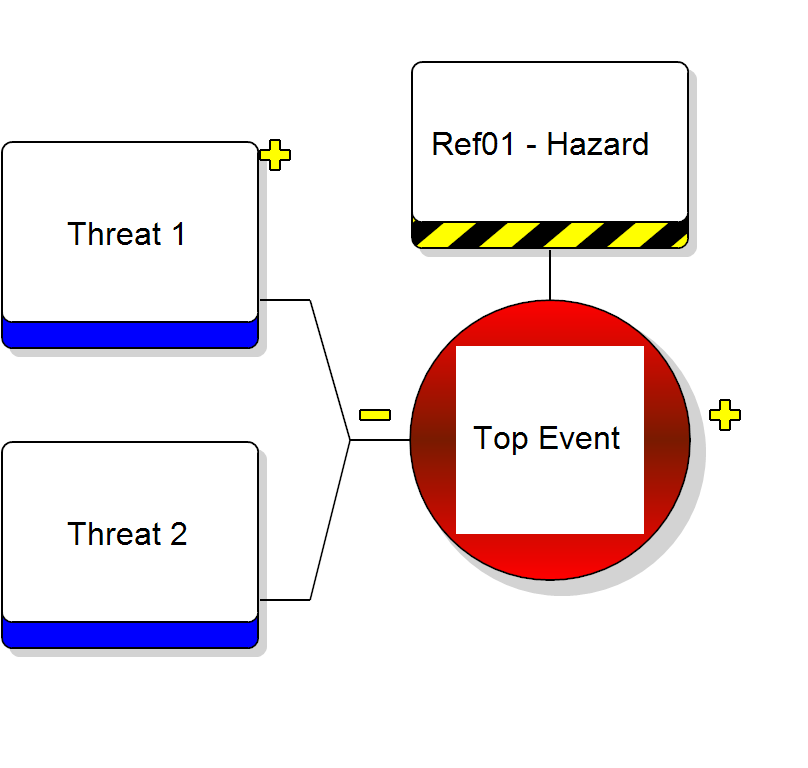
Example: tyre blow-out while driving.
A possible direct cause that may release a hazard by producing a top event.
Guiding Principles
- Describe threats as specific events.
- Focus on plausible threats.
- Each threat should independently cause the top event.
Traps and Tips
- Trap: Confusing control failure with a threat.
Tip: A threat causes the event; a control failure explains why protection did not work.
Consequences
Consequences appear to the right of the top event and describe what may happen if recovery controls fail. They are events — not the loss itself.
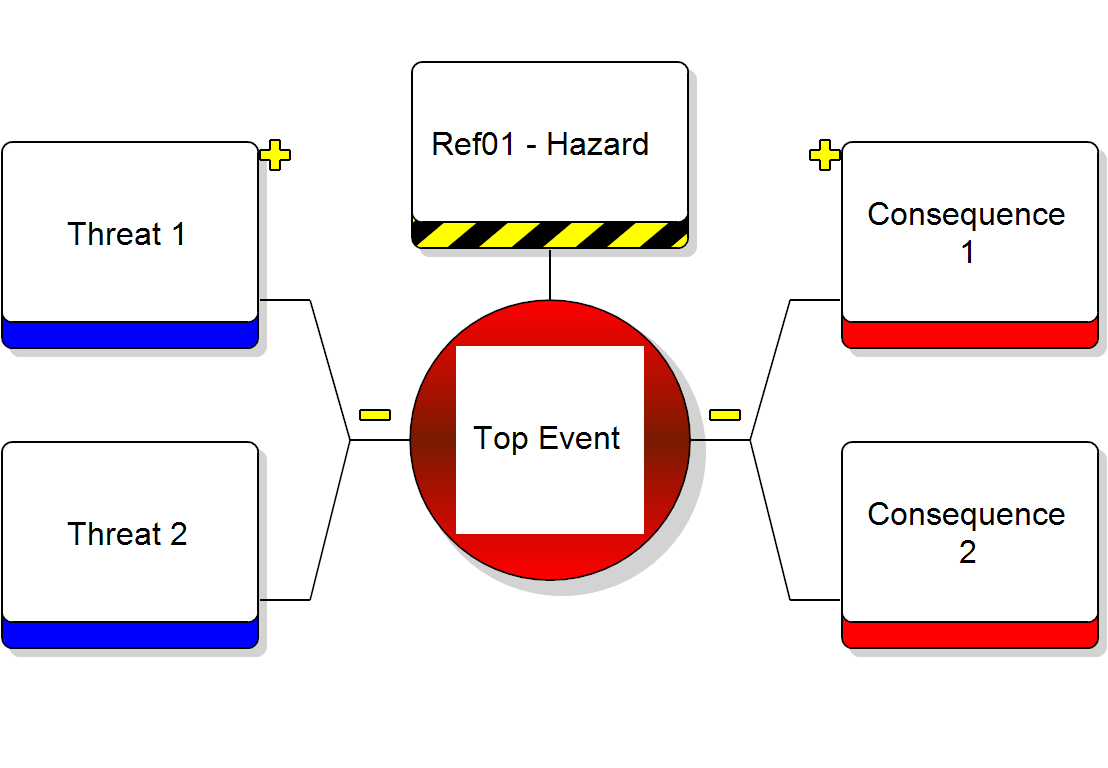
Example: collision resulting in serious injury or fatality.
A potential event resulting from the release of a hazard that leads directly to loss or damage.
Guiding Principles
- Write consequences in operational terms.
- Distinguish between consequence (event) and outcome (impact).
- Ensure all consequences logically follow from the top event.
Prevention Controls
Prevention controls are placed on the left-hand side and act to stop threats from leading to the top event. They either eliminate the threat or prevent it from escalating.
Any measure taken to act against an undesirable force or intention in order to maintain a desired state.
Traps and Tips
- Trap: Vague descriptions such as “Maintenance”.
Tip: Clearly state what action is taken and how it interrupts the event chain. - Trap: Too little or too much detail.
Tip: Aim for concise, clear one-sentence descriptions.
Recovery Controls
Recovery controls sit on the right-hand side of the top event. They reduce the likelihood of consequences or mitigate their severity once the top event has occurred.
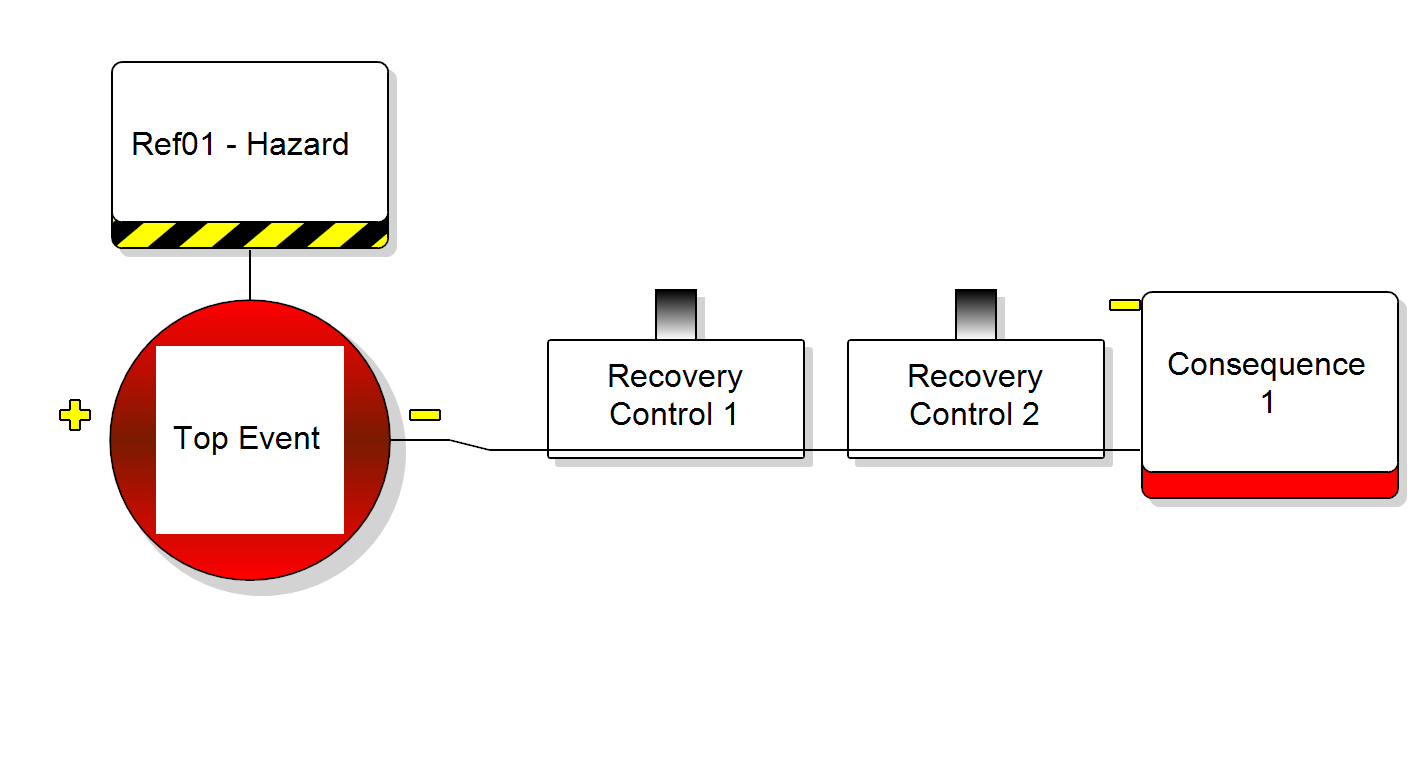
Examples: Anti-lock braking systems (ABS) or airbag deployment.
Controls may operate sequentially or in parallel. Bowtie diagrams typically present them sequentially for clarity, although real-world dependencies must always be considered.
Escalation Factors
Escalation factors explain how controls may degrade or fail. They do not directly cause the top event but increase the likelihood of progression.
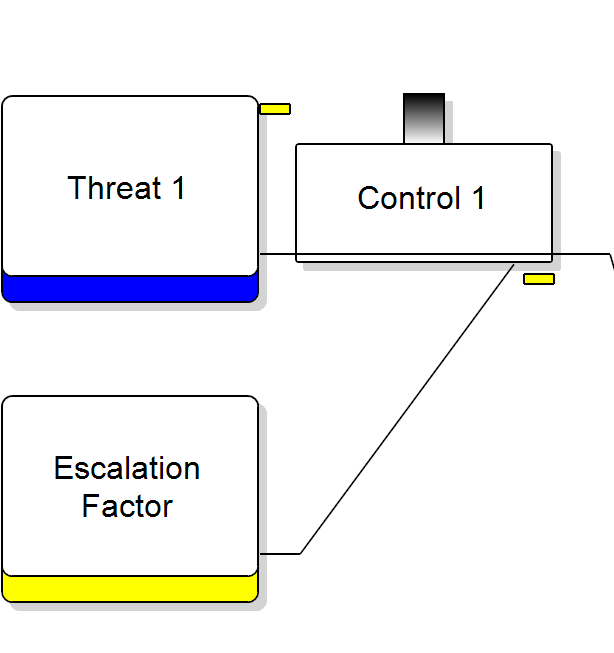
A condition that increases risk by defeating or reducing the effectiveness of a control.
Traps and Tips
- Trap: Generic statements such as “radio does not work”.
Tip: Clearly describe why or how the control is degraded. - Trap: Excessive escalation factors cluttering the diagram.
Tip: Include only credible and significant factors.
Escalation Factor Controls
Escalation factor controls manage the conditions that weaken other controls. They ensure the continued effectiveness of prevention and recovery barriers.
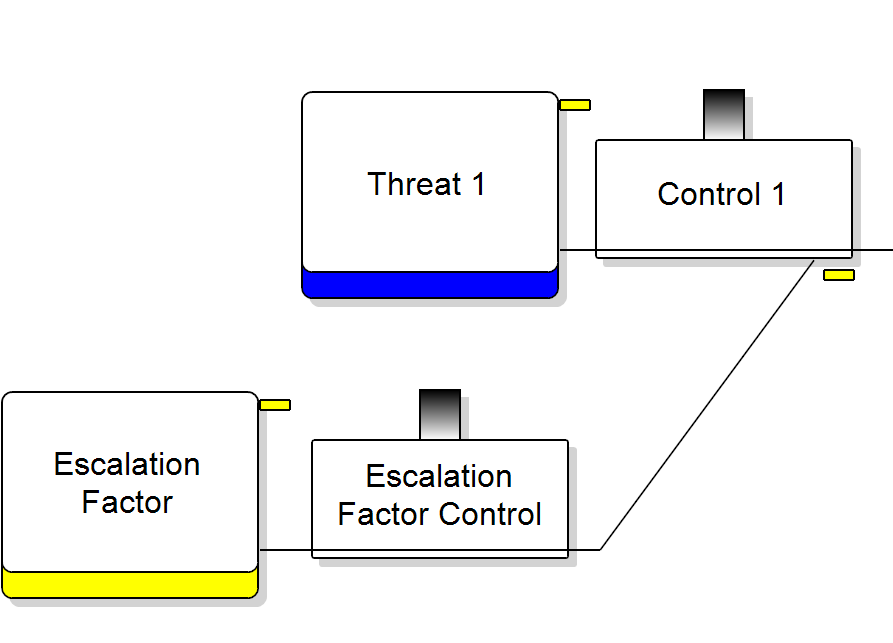
A control that manages the conditions which reduce the effectiveness of other controls.
Guiding Principles
- Focus specifically on managing the escalation factor.
- Build diagrams to one level of escalation factor for clarity.